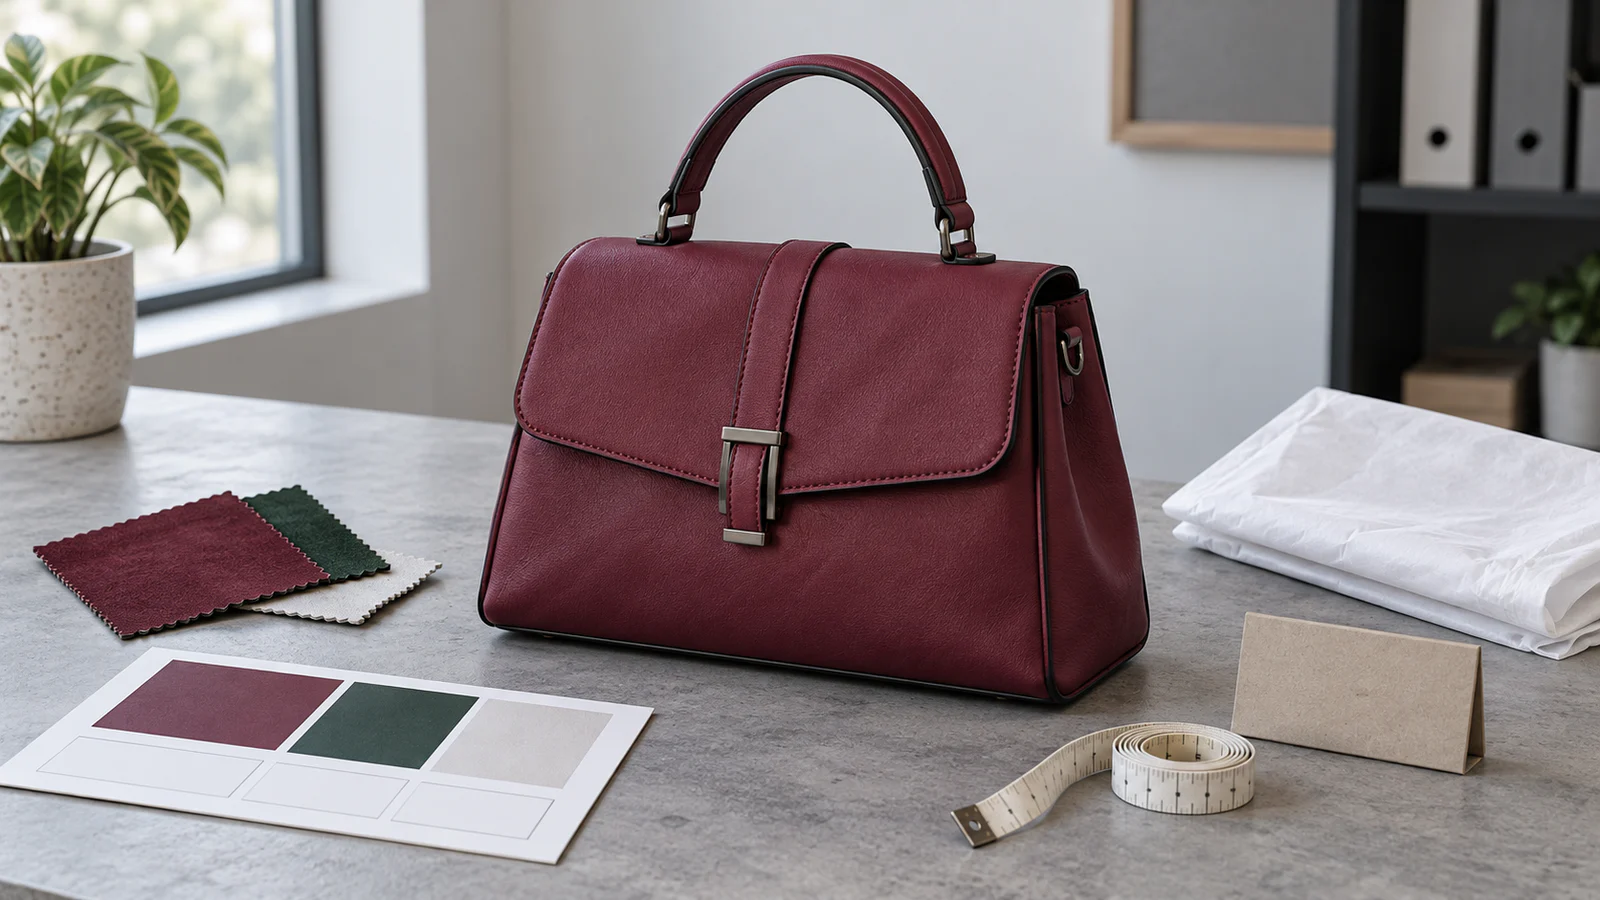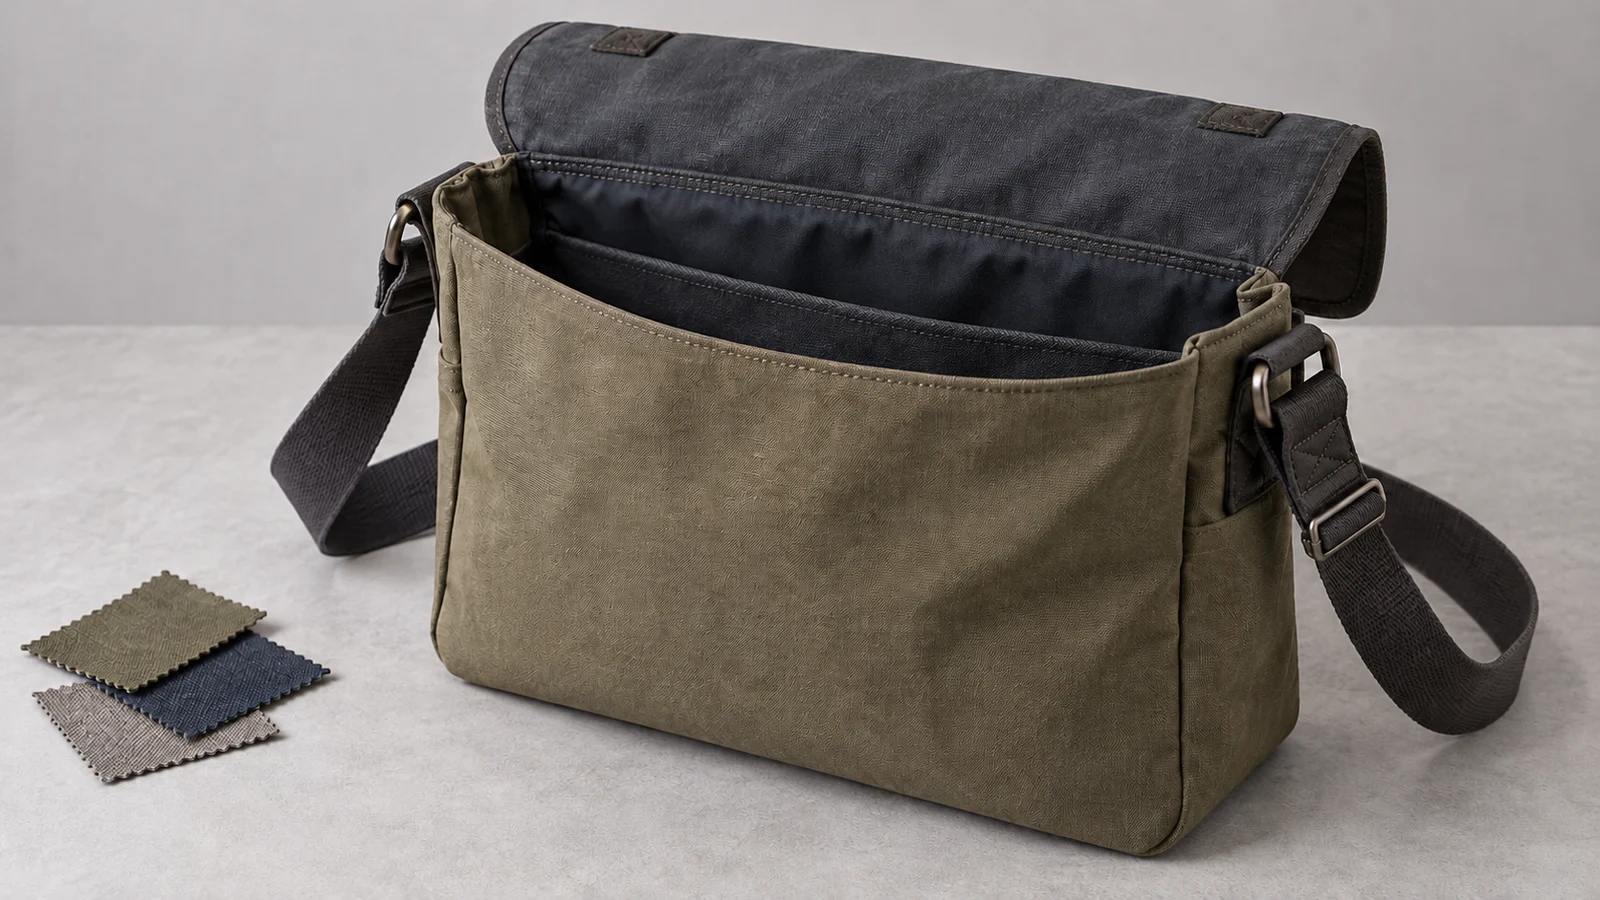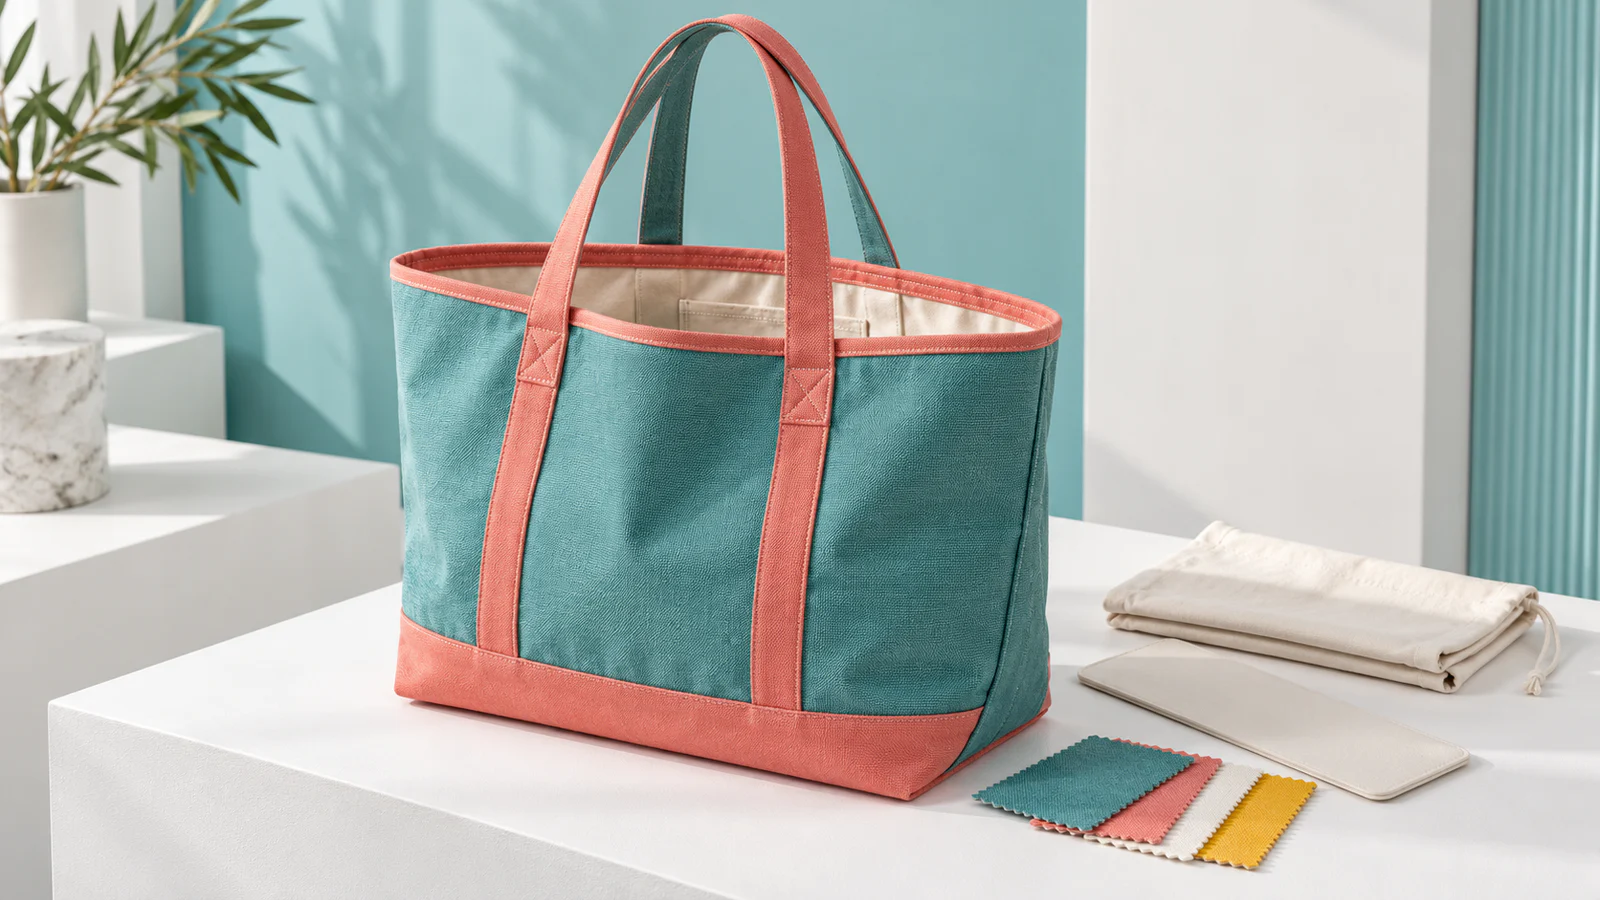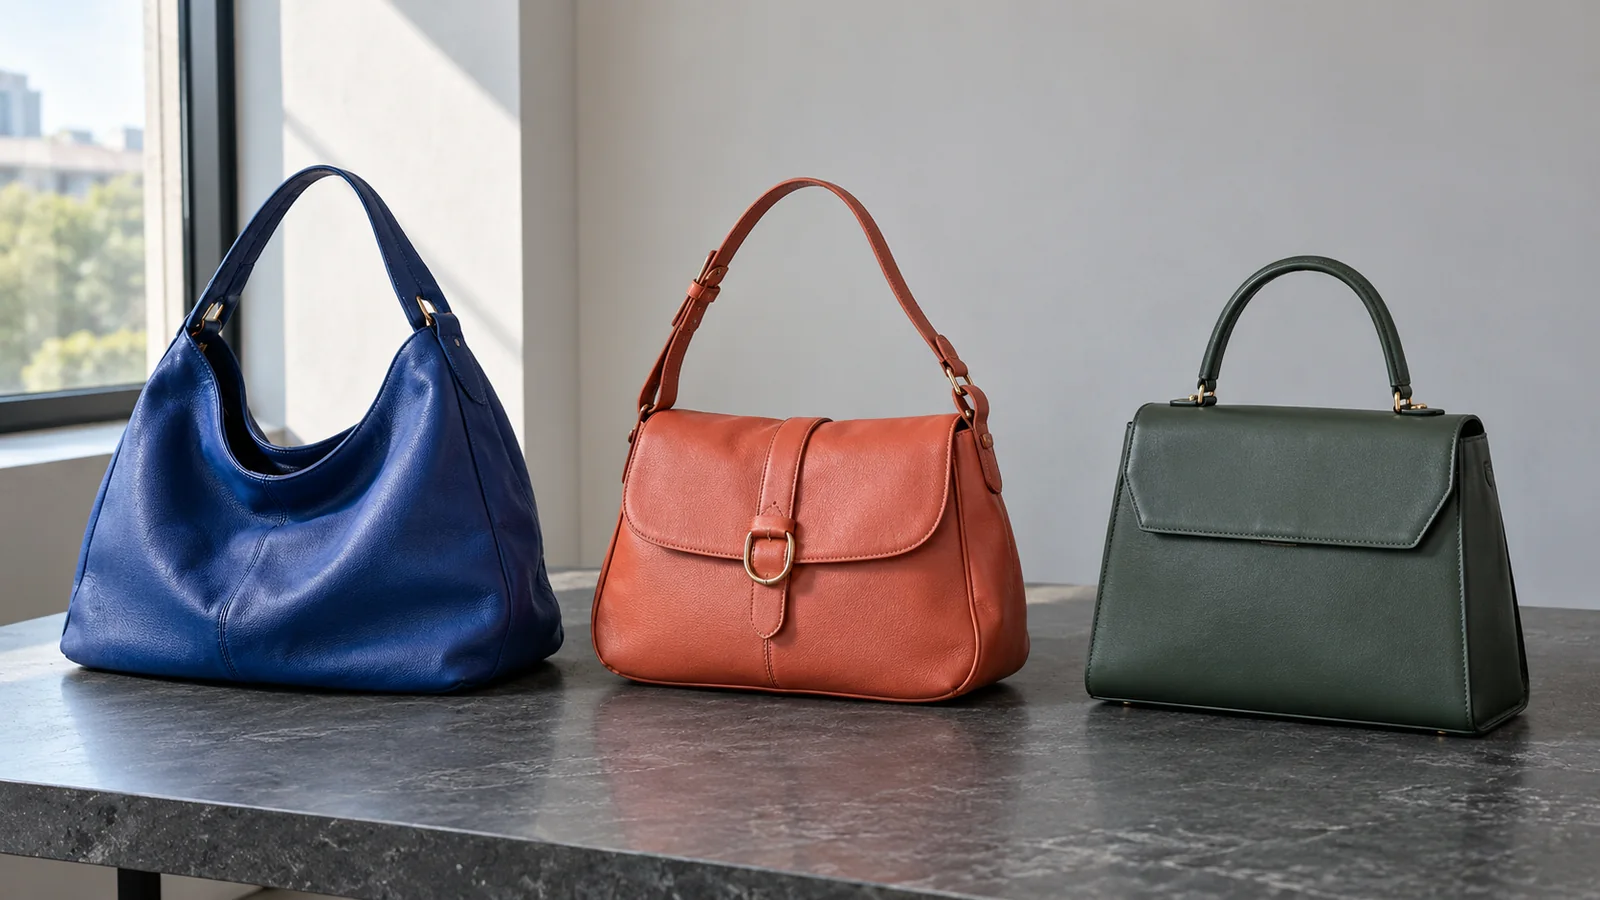
"Make it more structured" leaves a factory with several possible instructions: flatten the front panel, support the opening, firm up the base, or make the whole body less flexible. Those changes need not produce the same bag. A sample can look closer to the reference while feeling less suitable in the hand.
Useful handbag structure and reinforcement specifications describe behavior first. What should the bag do when empty, set down, opened and carried with agreed review contents? Which areas should retain their shape, and where should movement remain?
For brand owners and sourcing teams, this is a focused part of handbag product development, not a replacement for the complete specification. The aim is to give the factory a reviewable target without prescribing an unverified construction from a photograph.
Define Soft, Semi-Structured or Structured Before Choosing Support
Use these terms as starting descriptions, not fixed technical grades. A soft bag can still need a controlled opening; a structured body can include a flexible gusset. Agree what the label means for this design before discussing support materials.
| Target behavior | What to describe | Zones to review | Sample question |
|---|---|---|---|
| Soft | Drape direction, acceptable folds, opening behavior | Opening, corners, anchors | Does it relax without unwanted twisting? |
| Semi-structured | Outline to retain; areas allowed to flex | Panels, gussets, base, opening | Is the outline clear without feeling overbuilt? |
| Structured | Empty-state silhouette; edges to control | Panels, base, corners, closure | Does it retain the agreed form without distortion? |
These are review prompts, not performance standards. Provide front, side and base references, and identify whether each shows an empty, filled or supported bag. Stuffing can hold a silhouette that the empty body will not retain. A photograph without that context is an unreliable approval reference.
Map the Bag Into Structure Zones
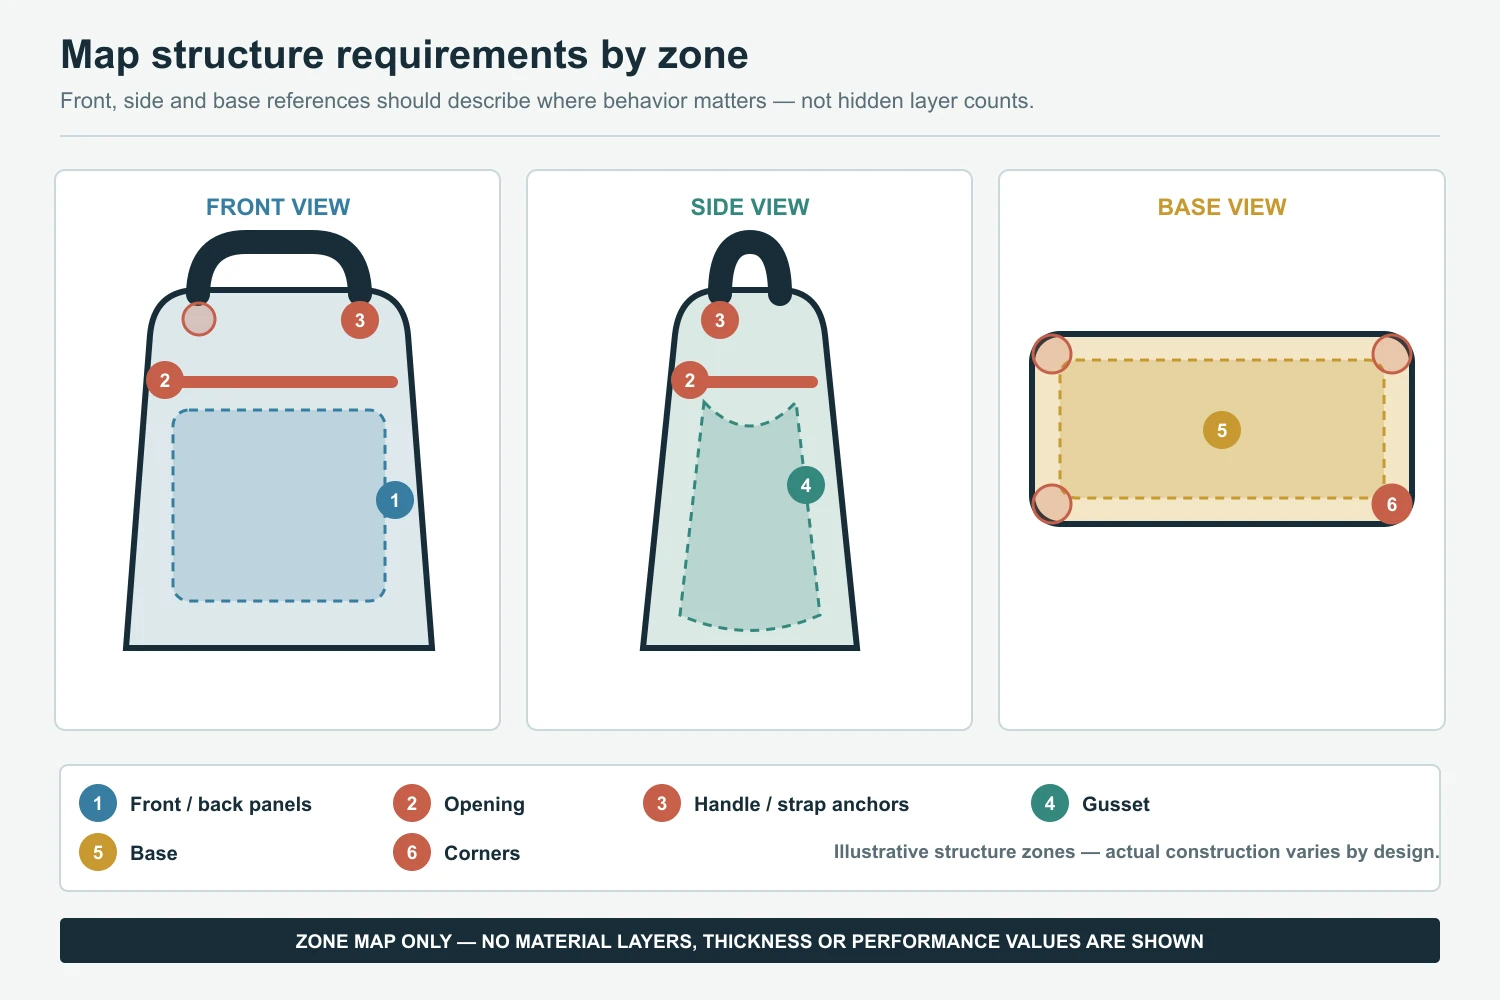
Mark each zone separately on a sketch. "Keep this face smooth; allow this side to fold" gives a clearer direction than asking for reinforcement everywhere. The factory can then propose a construction for review rather than guess which part disappointed you.
Front and Back Panels
Describe whether each face should remain flat, curve gently or drape. Identify acceptable fold directions and any area where a support edge must not show through. Review bag panel reinforcement with the selected outer material and seam arrangement; a smooth face in one material combination does not establish the result in another.
Gussets, Corners and Opening
The gusset forms the side or depth of the bag. Show where it should expand and where a fold should remain. Around corners and the opening, ask how support will accommodate the intended bend. Review the bag both open and closed: a neat closed outline is not enough if access feels restricted or the mouth twists.
Base and Bottom Shape
Separate three possible requests: a flat empty base, deliberate softness when lifted, and controlled shape with agreed contents inside. They are not interchangeable. For bag base reinforcement, describe the required behavior before naming a board or thickness. Check the transition into the sides as well as the bottom itself; supporting the base alone may leave the unwanted side fold unchanged.
Handle, Strap and Hardware Attachment Areas
Mark the attachment locations and observe the surrounding panel during agreed handling. Note unwanted pulling, puckering or skewing rather than diagnosing the hidden cause from the outside. Review handbag hardware options alongside the placement discussion, but keep this decision about the connection and closure geometry, not finish colors. A visual check does not establish carrying capacity or durability.
Dividers, Pocket Flaps and Internal Panels
Decide which internal parts should remain upright and which may fold. Freudenberg's reinforcement materials for leather goods identifies dividers, pocket flaps and front pockets as reinforcement applications. That supports reviewing these parts individually; it does not identify the materials used in a Christori bag. Visible lining and hidden support should be recorded separately.
A style in the top handle bag collection can help illustrate the zones, but its outline does not reveal its internal construction. The same zone-by-zone discussion can apply to other handbag categories.
Select Support by Function, Not by the Word "Thicker"
Keep five roles distinct in the discussion. The outer material forms the exterior. Visible lining finishes the inside. Interlining or a concealed support layer influences a panel's behavior. Local reinforcement addresses a defined area. Base support addresses the bottom. One component should not be assumed to perform all five jobs.
When reviewing handbag lining options, clarify whether a proposed change concerns the visible interior or support behind it. Approving a lining color does not approve the hidden construction.
Texon's Bags & Belts material overview describes reinforcement options with different stiffness characteristics and shape-retention applications. The relevant point is that support involves a choice, not a universal thickness. This is supplier reference material, not a statement that Christori uses those products.
Ask the factory to explain the intended function, coverage and attachment of any proposed support. If you specify a material yourself, provide a physical swatch or supplier information and ask for compatibility review with the actual outer material and construction. Do not transfer an approval from another bag without checking what changed.
Connections also deserve a clear description. Coats' Seam Types technical bulletin explains seams as stitched joins between material layers and distinguishes different seam arrangements. For this brief, use that principle to ask which parts join and where. It does not supply a stitch setting, thread choice or strength result for your project.
Balance Shape, Hand-Feel, Weight and Appearance
A more defined outline may change the way the bag bends, the bulk at its edges and its weight in the hand. Decide what matters most before requesting another revision. Otherwise, one round can ask for greater firmness and the next can reject the resulting feel without explaining which zone should change.
Material names do not settle the question. Genuine leather, PU or other vegan-leather materials, canvas and nylon need evaluation as the particular outer material and construction proposed. Do not assume a leather bag will hold its shape or that every PU bag requires the same support.
For a hypothetical semi-structured design, a useful instruction is: "Retain the front outline when empty, but allow the upper side to flex during opening." It expresses a priority without inventing a layer arrangement. Compare the side and base as well as the front, then note whether the proposed solution preserves access and the preferred feel.
What to Put in the Structure Specification Before Sampling
Use this mini-spec as a discussion sheet. Blank decisions should remain visibly open, not become an assumed "standard construction." It covers structure only, rather than the full material list or sample-order process.
| Structure field | Buyer input to complete |
|---|---|
| Target silhouette | Attach front, side and base references; mark which features matter. |
| Target behavior | Choose soft, semi-structured or structured, then describe it in your own words. |
| Empty-state expectation | State what should retain its outline without stuffing or hand support. |
| Intended use and review contents | Identify the use and agree what goes inside during review; this is not a rated capacity. |
| Support zones | Mark panels, gussets, opening, base and corners; distinguish supported and flexible areas. |
| Attachment zones | Identify handle, strap and hardware locations and the surrounding areas to inspect. |
| Material direction | Separate outer material, visible lining and any known support preference; attach references. |
| Opening and closure | Describe access, intended folds and how the closure should align. |
| Dimensions and drawing reference | Provide known measurements, units and the relevant sketch version. |
| Open decisions | List questions for the factory and details requiring sample confirmation. |
Number the zones consistently across the sheet and photographs. If the support proposal changes, record which zone and intended behavior it addresses. This gives both sides a way to discuss revisions without treating every part of the bag as a new design decision.

Structure Checks for the Physical Sample
Establish the review conditions before judging the sample. Agree the contents, how they are arranged and the handling to be observed. Photograph the empty bag, the bag resting on a flat surface and the agreed use state. State whether the closure is open or closed and whether any stuffing or support remains inside.
Use this handbag sample structure checklist with the marked references:
- Silhouette: Photograph front, side and base from repeatable angles. Compare the empty outline with the agreed target, not only a filled presentation photograph.
- Symmetry and alignment: Check left and right sides, the opening and closure alignment without pulling the body into position for the photograph.
- Panels: Locate unexpected bulges, collapse, twisting or creases. Distinguish an intended fold from a new fold that appeared in the sample.
- Base: Compare its flatness or softness with the stated goal, both resting and in the agreed use state. Record where an unwanted change begins.
- Attachments: Observe the surrounding surface during agreed handling. Record skewing, puckering or distortion without treating the observation as a load-test result.
- Interior and access: Check whether support interferes with opening, closure, usable space, pocket movement or lining. Note visible support outlines or uncomfortable transitions.
- Hand-feel: Compare the areas intended to remain supple with those intended to hold form. Avoid approving solely from photographs when feel is part of the requirement.
- Revision record: Separate acceptable features from changes required. Attach a location, view and expected behavior to each comment; use the same conditions for the revised sample.
Instead of "still too soft," write "the left upper side folds inward when the empty bag is closed; the approved reference keeps that edge open." This is an example of feedback wording, not a reported customer case. It gives the factory an observable issue to investigate without pretending the buyer already knows its cause.
Ready Stock Verification vs Custom Structure Development
For Ready Stock, evaluate the actual available item. Ask for views that show its empty body, opening and base, then decide whether its existing behavior suits your assortment. A catalog photograph is not confirmation of the internal layers, and a request for a firmer body should not be treated as a routine stock-order adjustment.
With ODM, identify which parts of the existing style may be changed and which constraints remain. A different outer material or support proposal may require renewed structure review even if the outline stays familiar. Confirm that scope before comparing it with an unchanged stock item.
For OEM, include the target behavior, marked zones and open construction questions in the development brief. The sample is where the proposed combination can be assessed against those requirements. Share the intended quantity and flexibility for review, but keep commercial feasibility separate from structure approval. Neither a favorable sample appearance nor this guide establishes a price, production timing or order minimum for a particular project.
Questions to Send With a Structure Review Request
Attach the references and mini-spec, then explain your current stage: an early concept, an existing style to modify or a sample needing a specific correction. Include intended use, known dimensions, outer-material direction, preferred hand-feel and target quantity. Point out which regions must retain shape and which may move.
Ask: Which structural decisions are still missing? What support arrangement would you propose for each marked zone? Which changes might affect the opening or feel? What should we compare on the sample? These questions keep the review focused on the unresolved decisions.
Frequently Asked Questions
Is thicker reinforcement always better for a structured handbag?
No. Thickness alone does not specify the desired outline, flexibility or supported area. Review the proposed construction against the target behavior and check its effect on edges, access and hand-feel. There is no universal thickness recommended here.
Can the same interlining be used with genuine leather and PU?
Do not assume an approval transfers between them. Ask for review of the particular outer material, thickness, surface, proposed bonding or sewing method and target behavior. An acceptable combination on one sample is not proof for another.
How should a buyer describe a semi-structured bag?
Describe the outline that should remain when empty, the regions allowed to flex and the expected opening and base behavior. Add front, side and base references plus a hand-feel description. "Not too soft" leaves those decisions unresolved.
What should be checked before approving the sample structure?
Compare the silhouette, opening, base, attachment areas and interior under the agreed conditions. Resolve unwanted deformation and interference, and record any accepted exceptions. Structure review does not replace separately defined functional testing or establish a performance rating.
Prepare a Reviewable Structure Brief
A useful structure brief connects the intended silhouette to specific zones and observable behavior. Before approving a revision, ask whether it resolved the original issue without creating an unwanted change elsewhere. Keep the accepted views and descriptions together so the next decision refers to the same target. The technical sources above explain general material and construction principles; they do not establish Christori's materials, certifications or test results.
Send your reference image, target silhouette, preferred hand-feel, intended use and any known material or size details. Christori can review what still needs to be clarified before custom sampling.