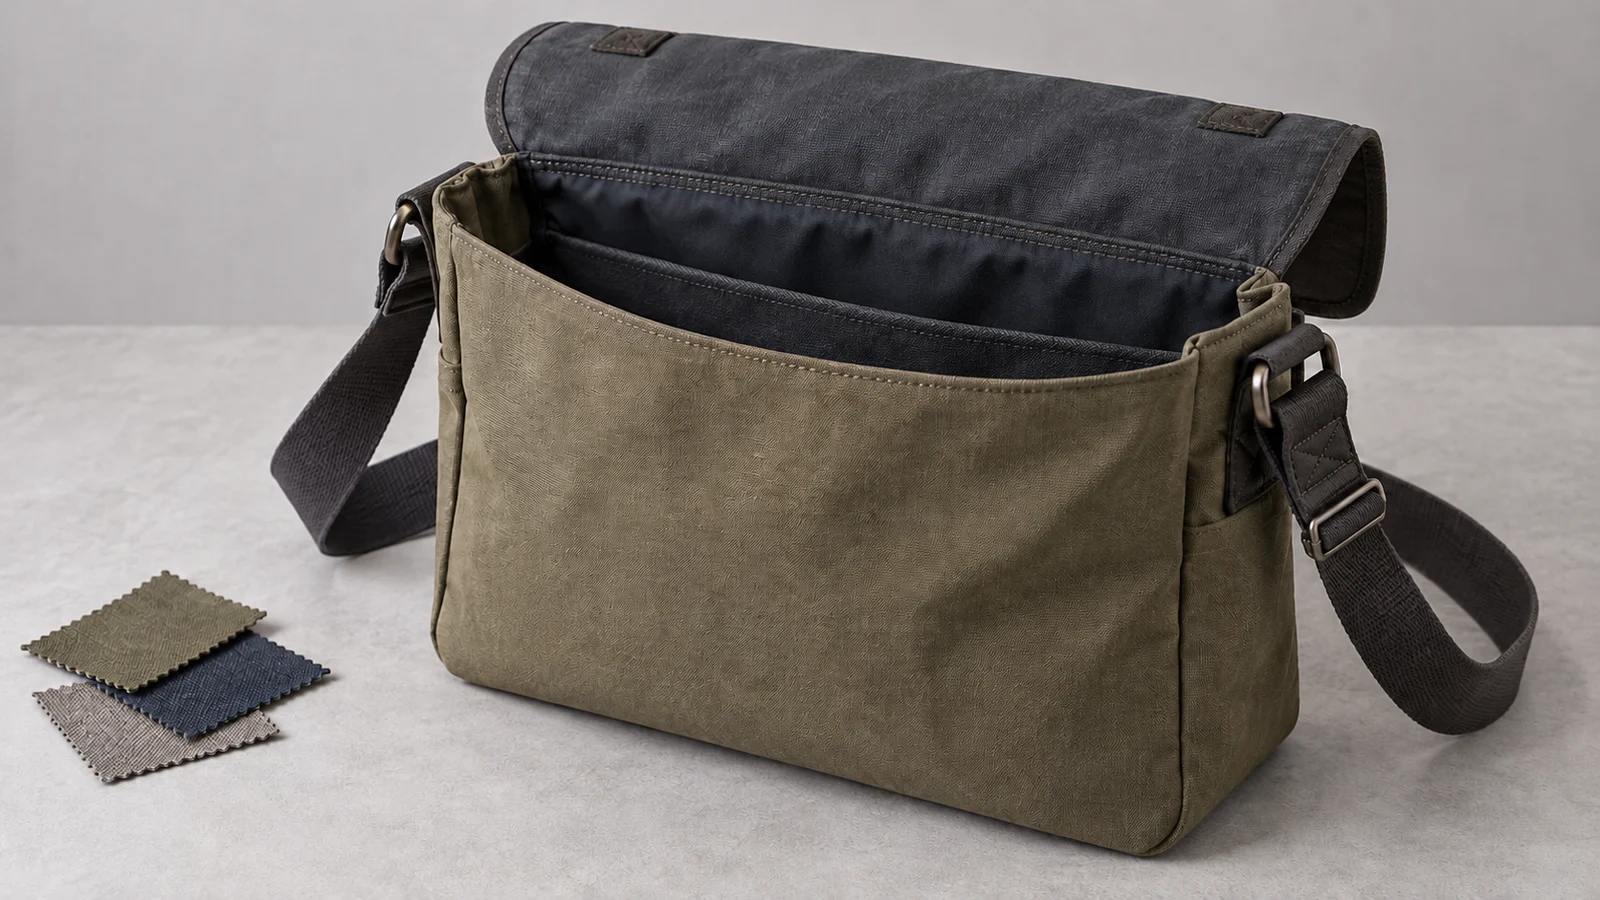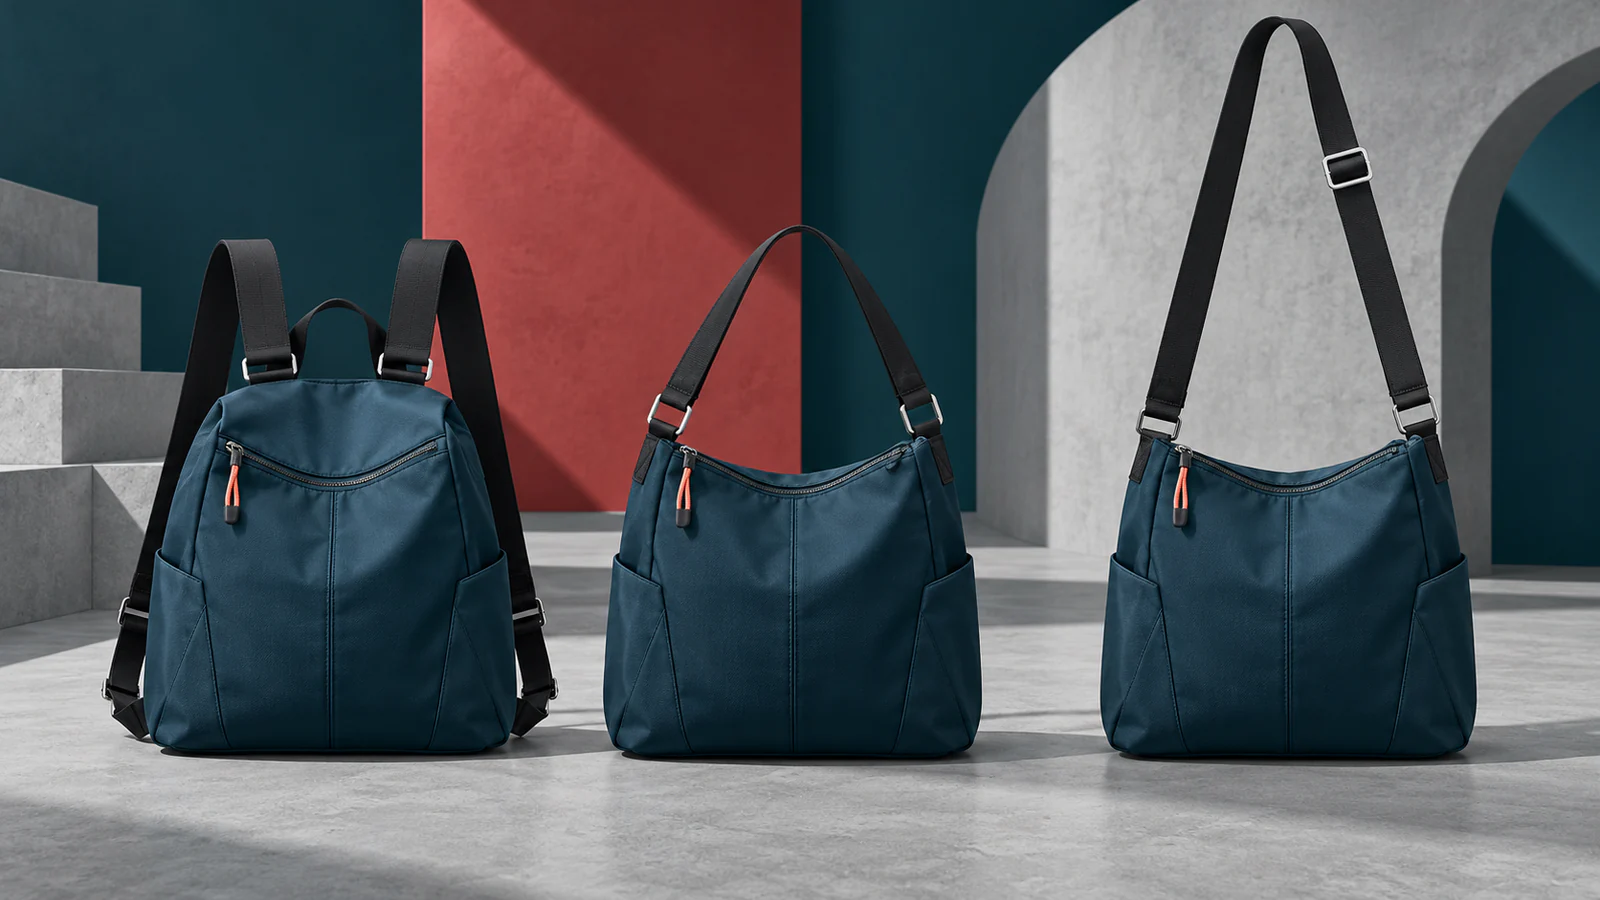
Listing backpack, shoulder and crossbody modes is not enough for a comparable quotation. A factory needs to see which strap works in each mode, where it connects, what happens to unused parts, whether the opening remains accessible and how the body should hang. Your convertible backpack wholesale specifications should show the transitions as well as the finished positions. This is a different decision from choosing between a fixed backpack and a shoulder bag: one design must reconcile several configurations. Start with your reference and the essential carry modes, then leave unresolved construction choices visible for review. The wholesale backpack collection can support the silhouette discussion, but a catalog view does not confirm a conversion mechanism.
Build a Carry-Mode Matrix Before Choosing Hardware
An active strap carries the bag in the selected mode; an inactive strap remains unused. An attachment point is the location where a strap or handle connects to the body. Label these on the same drawing before selecting fittings.
Use this matrix as a project template. Remove unwanted modes, rank the remaining ones and replace prompts with your references. It does not imply that every convertible design includes all four.
| Carry mode | Active strap or handle | Attachment points | Unused component | Opening access | Body position to review |
|---|---|---|---|---|---|
| Backpack | Twin or routed straps | Mark upper and lower positions | Locate alternate strap storage | Worn and set down | Upright or specified angle |
| Shoulder | Shared or separate strap | Mark ring and hook direction | Store or secure backpack straps | Check crossing straps and handles | Side hang and top edge |
| Crossbody / Sling-style | Long strap or rerouted system | Identify front/back orientation | Locate remaining straps and tails | Check reach to closure | Angle and unwanted twisting |
| Tote / Hand carry | Handles or short straps | Mark handle anchors | Remove or store long straps | Check handle clearance | Empty and agreed review contents |
References from wholesale shoulder bags may clarify an alternate outline. They cannot prove that a backpack will retain that outline after conversion.
Map the Strap Routing for Every Mode
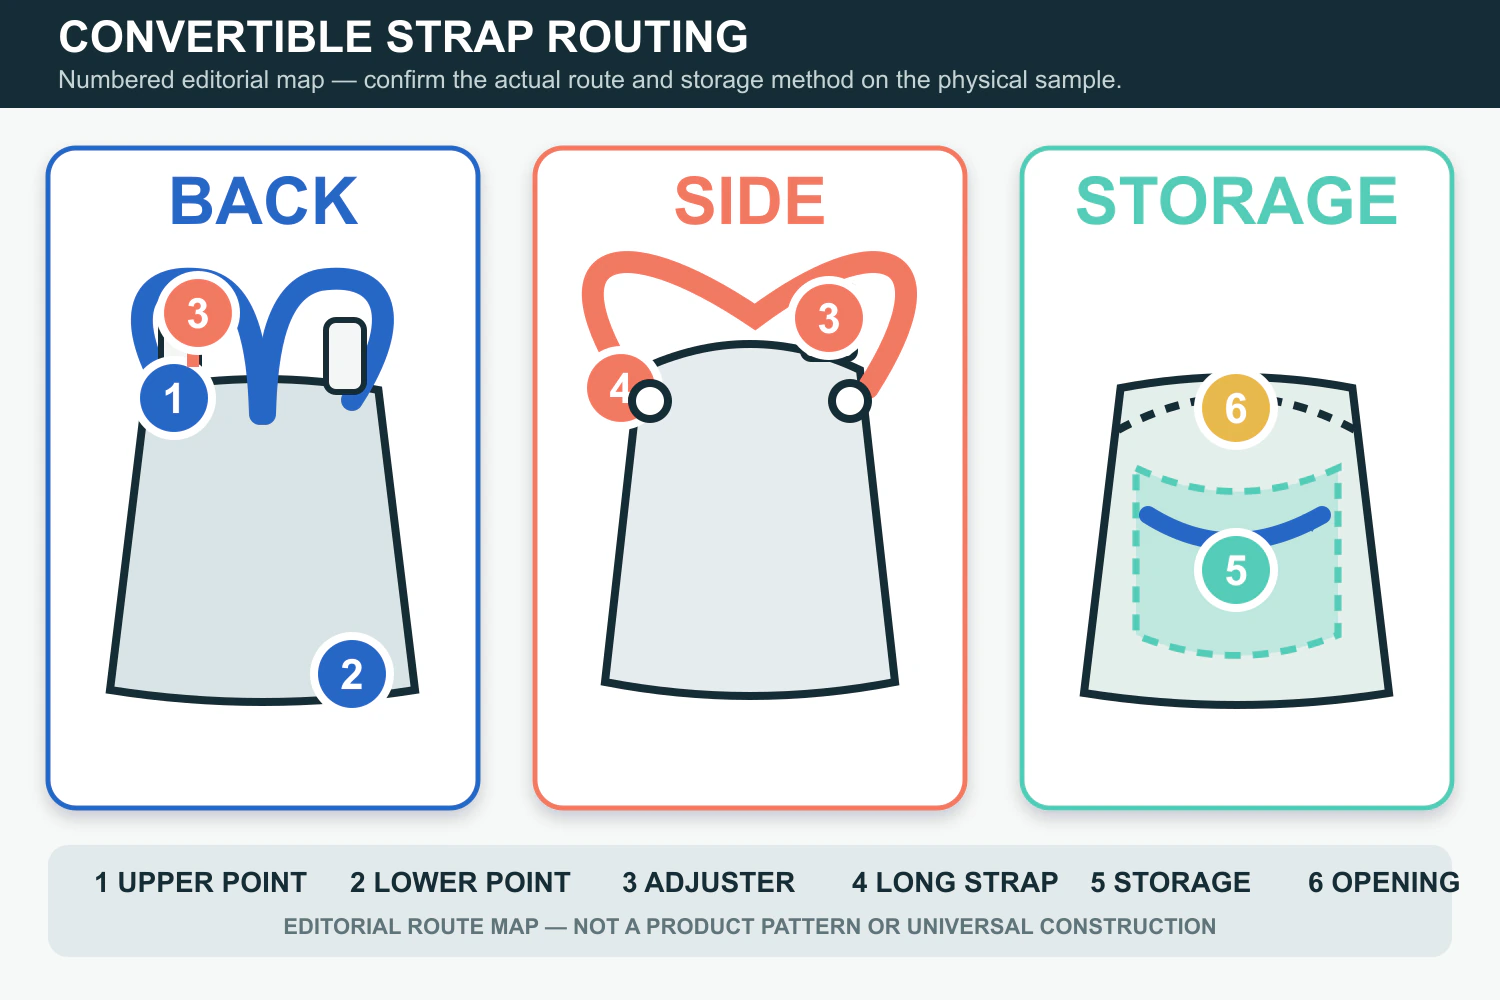
A strap route is the path between attachment points, including any rings, channels or fittings it passes through. An adjuster changes the usable strap length. Give components identifiers that remain consistent across views.
Backpack mode
Draw both paths from upper to lower connections. Show whether they stay separate, cross, slide through a ring, detach or fold away. Mark each adjuster and free end. If a route disappears behind a panel, request the concealed view rather than treating it as resolved.
Shoulder, crossbody or sling-style mode
Specify whether the same strap moves or another strap is attached. Mark hook direction, the intended front face and the proposed hanging angle. A single diagonal line is not a routing instruction. Use the crossbody strap and hardware checklist for measurement endpoints and adjustment definitions; here, record which settings change during conversion.
Tote or hand-carry mode
Show whether handles remain upright, fold or detach. Record what happens to the long straps when those handles become active. They should not accidentally hang below the bag or emerge through the opening unless that appearance is explicitly accepted.
Define How Unused Straps and Loose Ends Are Stored
"Hidden straps" leaves important decisions unanswered. Fully detachable parts need a separate storage and packing plan. A concealed pocket or channel needs a marked location; folding under a keeper or securing with a loop or snap needs a defined release point. Leaving a strap visible can also be deliberate, but show the accepted position.
For each proposal, ask what space it occupies and what it touches. A strap-storage pocket must be reviewed with the lining and interior, not just drawn over the rear panel. Photograph the complete alternate mode and the stored components close up. Check their effect on body thickness, contact with the wearer and access; do not call the arrangement comfortable from a photograph.
Use this short storage check:
- No uncontrolled loose end.
- No blocked closure.
- No unintended bulge.
- No inaccessible release point.
- No unapproved visible hardware.
Specify Attachment Points and Hardware as an Assembled System
Identify rings, D-rings, hooks, sliders, buckles, swivels, tabs and keepers by function. Distinguish connections that stay in place from those released during conversion. Mark release direction and clearance around the hook, ring, opening and body edge. Ask the factory to propose and sample the backing at each affected attachment zone.
Compare finish references across active and inactive parts together. Observe whether a connector turns against a panel, catches a neighboring fitting or sits awkwardly after rerouting. Browse handbag hardware options for component direction, not an assumed compatible kit.
As a technical reference, YKK's LK-BA adjuster page identifies a specific compatible component family. That is a useful reminder to record component identities rather than rely on resemblance. It does not establish compatibility with your proposed bag or a Christori supplier relationship. Assembly review is still required; a neat connection proves no load rating or service life.
Keep the Opening Accessible in Every Carry Mode
Opening clearance is the usable space for reaching and operating the opening with nearby handles, straps and fittings in their intended positions.
Review the zipper, flap, drawstring or open top in each selected mode, both worn and set down. Mark any strap crossing the closure path. Check whether a hook release or adjuster remains reachable without first disturbing another component. If access requires repositioning the bag, state that sequence rather than presenting an unobstructed studio view as evidence.
Request an open-position photograph and, where the sequence is unclear, a short transition video. Keep this review about interference created by conversion, not a general comparison of closure types.
Review Body Shape When the Carry Direction Changes
Compare the empty bag, the bag set down and each worn mode using agreed review contents. These are observation conditions, not a capacity test.
Look for the top edge pulling inward, a gusset folding differently, a tilted base or a closure line moving off center. Also inspect tabs that become prominent and lining or dividers that obstruct a strap-storage route. Describe the visible change before proposing a hidden construction fix. The handbag structure and reinforcement guide covers general zone mapping.
Choose an outer-material direction, whether genuine leather or vegan leather and PU, then review the actual combination of shell, straps and support. A material name alone cannot settle how the same body behaves in different orientations.
Decide Between One Strap System and Multiple Components
Choose according to the modes that matter most, not the largest number of possible configurations. Fewer loose pieces may mean more rerouting; separate straps may simplify an individual mode but add parts to identify and pack.
| System direction | Benefit to evaluate | Specification burden | First-sample question |
|---|---|---|---|
| One rerouted strap | Fewer separate pieces | Define every path and adjustment | Can the reviewer follow each transition without ambiguous threading? |
| Detachable mode-specific straps | Dedicated component for each mode | Control parts, matching connectors and packing | Is each piece identifiable and compatible with its intended connection? |
| Integrated/concealed backpack straps | Less visible hardware in alternate modes | Define storage space and body thickness | Do stored straps create unwanted bulk, pressure or blocked access? |
These are options for feasibility review, not universal recommendations. If a secondary mode compromises the primary one, simplify the requirement before approving another revision.
Ready Stock, Existing-Style Customization or New Development
| Route | Starting point | What to verify |
|---|---|---|
| Ready Stock / Wholesale | An identified available item | Actual modes, included parts, current colors/materials, quantity and packing |
| Existing-style customization / ODM | An existing multi-carry base | Whether proposed logo, color, lining, hardware or packing changes affect conversion |
| New OEM / product development | Reference, sketch, concept image, tech pack or physical sample | Full mode matrix, routes, attachments, materials, interior and body behavior |
With ready-stock handbags, verify the actual item before requesting changes. A concept image does not demonstrate a workable hidden route. For OEM and ODM development, separate fixed requirements from construction proposals requiring a sample.
For custom planning, genuine-leather projects may start around 100 pieces per style/color; PU, canvas and nylon projects may start around 200. Construction, material sourcing, color breakdown and customization affect feasibility. These are not universal ready-stock minimums or contact gates. Send a target quantity even if it is undecided. Price, sampling charges and timing require project-specific confirmation.
Convertible Backpack RFQ Checklist
Put the following in one dated reference package. Mark missing information as open rather than guessing it.
- Required carry modes, in priority order.
- Front, back, side, base, open-position and each-mode references.
- Body dimensions, units and desired soft, semi-structured or structured behavior.
- Strap count, material, width and buyer-defined length/range inputs.
- Every active strap route in every mode.
- Attachment locations, hook/ring orientation, adjusters and keepers.
- Removal or storage method for each inactive component.
- Opening and closure behavior in every mode.
- Lining, pockets or channels involved in strap storage.
- Outer material, colors, hardware finish and branding positions.
- Estimated quantity per style/color and preferred sourcing route.
- Packing arrangement and component list for detachable parts.
- Any buyer-specified testing, documentation or destination-market requirements.
Ask the quotation to identify proposed departures. Keep the accepted mode matrix with the drawing and parts list so a changed connector does not silently become an approved replacement.
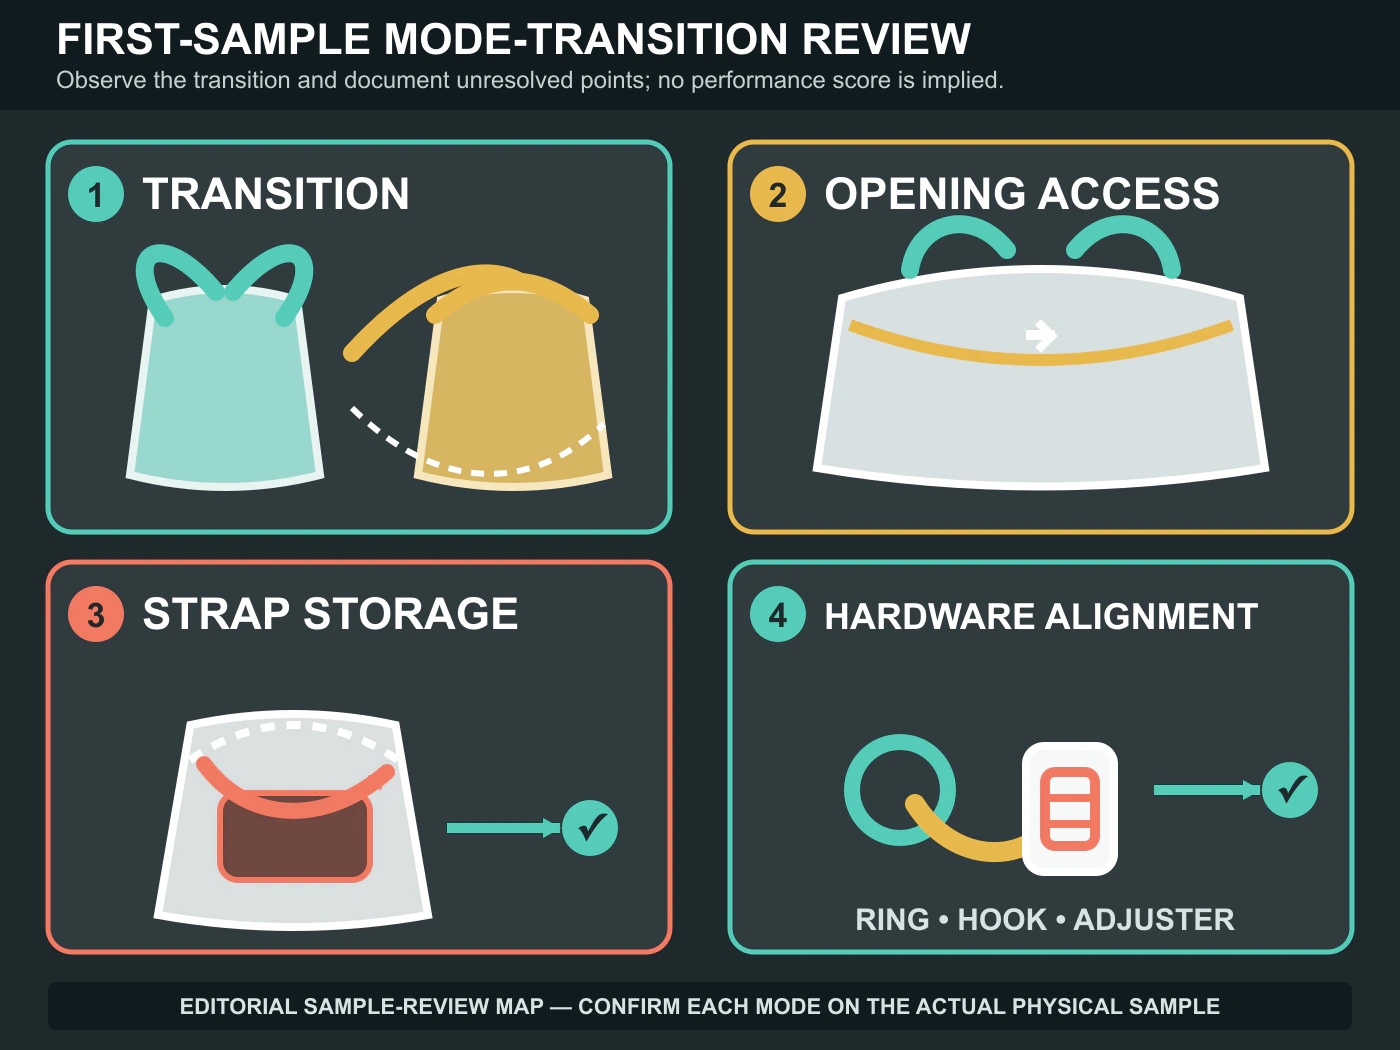
First-Sample Transition and Approval Checks
Ask the reviewer to convert the bag from the supplied instructions, then return it to the starting mode. Record the actual sample materials and any substitute parts before interpreting the result.
| Check | What to observe | Evidence to send back |
|---|---|---|
| Backpack to shoulder | Release, rerouting and storage sequence | Labeled sequence photos or video |
| Shoulder/crossbody to backpack | Return path and strap orientation | Front/back views after reconnection |
| Active attachment alignment | Hook direction and surrounding panel | Marked connection close-up |
| Inactive-strap storage | Loose ends, bulk and release access | Stored and exposed views |
| Opening/closure access | Interference in each mode | Open-position photo with straps in place |
| Adjusters and free ends | Reach, usable settings, tail position | Settings and measured differences |
| Body shape | Changes between agreed review states | Matched front, side and base views |
| Hardware contact/twisting | Components meeting another surface | Location-marked detail |
| Packed component set | Included pieces and their separation | Contents photograph against parts list |
Avoid "works well" as the entire approval. Identify the mode, component and observed difference, then state what should change. Record accepted exceptions separately. Visual and handling checks do not establish strength, durability or comfort claims; any formal evaluation needs its own agreed method and evidence.
Frequently Asked Questions
What information is needed to quote a custom convertible backpack?
At the earliest stage, send the reference, essential carry modes, material direction and estimated quantity, highlighting what is unknown. A comparable quotation then needs the mode matrix, strap routes, attachment and storage details, dimensions, branding and packing scope. If suppliers propose different conversion systems, ask them to identify those differences before comparing prices. Keep optional modes separate so they can be reviewed without obscuring the essential design.
Can one strap serve backpack, shoulder and crossbody modes?
Possibly, but do not treat that as a requirement already solved by a picture. The proposed path must explain how the strap reaches each connection, changes usable length and manages its free ends. Request a transition demonstration in both directions. If an acceptable alternate mode requires awkward threading or compromises the main mode, consider dedicated components or fewer modes. Confirm the chosen arrangement on the physical sample.
How should unused backpack straps be stored in shoulder mode?
Select a storage approach around the actual bag rather than assuming hidden straps need a rear pocket. Ask the factory to show detachable, folded, secured or concealed options that fit the proposal. Compare their release access, occupied space and visible outline with the shoulder mode fully assembled. Specify whether detached pieces travel separately or inside the bag, and approve the packed component set alongside the stored appearance.
Can a ready-stock convertible backpack have a custom logo or packaging?
That requires confirmation for the specific item and requested work. Separate a packaging change from a logo application that touches the body, strap-storage area or closure. Provide artwork, position and packing requirements, then ask which operations are feasible without changing the existing system. If a modification affects conversion or interior space, it needs review beyond approving artwork. Do not assume a listed stock style supports every customization option.
Does every custom convertible bag use the same MOQ?
No. Start with a quantity by style and color, then ask how the chosen material, conversion construction and customization scope affect the proposed route. An order total spread across several versions is different from one repeated specification. Where the quantity is tentative, share the range and essential features so the alternatives can be discussed. Ready-stock availability is a separate question; uncertainty about quantity should not prevent an initial inquiry.
Review Your Convertible Bag System Before Sampling
Prepare a reference for each required mode, mark its strap route and connections, and explain where inactive parts go. Add material, branding, quantity and packing requirements. Christori can review whether a current style, selected customization or new development is the practical starting point.